Ductwork in your house acts like the lungs of your home, circulating air through your living space. But just like lungs, ducts need to stay clear to function at their best. Over time, dust and debris can accumulate, compromising air quality and the efficiency of your heating and cooling systems.
You’re about to learn how to tackle this hidden culprit head-on. From gathering the right tools to step-by-step instructions, you’ll discover the secrets to cleaning your ductwork like a pro. Keep reading to breathe easier and enhance the comfort of your home.
Why Is Cleaning Ductwork Important?
Maintaining clean ductwork is not just an item on your annual spring-cleaning list; it’s an essential practice for the health and efficiency of your home environment.
Indoor Air Quality: Your ductwork is like the lungs of your home—it circulates air throughout your living space. When it’s laden with dust and debris, you’re effectively breathing in pollutants. Regular cleaning ensures you’re inhaling cleaner air, reducing the risk of respiratory issues and allergies.
Energy Efficiency: Clogged ducts can force your heating and cooling systems to work overtime. The harder these systems have to work, the more energy they consume. By keeping your ducts clean, you can help your systems run more smoothly, conserving energy and cutting down on your utility bills.
System Longevity: A build-up in the ducts can lead to increased pressure and stress on your heating and ventilation systems. Clean ductwork contributes to reduced wear and tear, which means you can prolong the life of these systems and avoid costly repairs or replacements.
Here’s what you need to know:
- Clean ducts help maintain optimal air flow
- Reduced contaminants lead to a healthier living environment
- Regular maintenance can result in noticeable cost savings
Studies have demonstrated the significant difference clean ducts can make. For example, after professional cleanings, many homeowners report not only a reduction in dust accumulation but also an overall improvement in their system’s performance.
By tackling duct cleanliness, you’re not just ticking a chore off your list—you’re investing in your home’s health and operational efficiency. It’s clear that this often-overlooked task is a key component to a well-maintained, efficient, and healthy home.
Tools and Materials Needed for Ductwork Cleaning
Before you begin the process of cleaning your home’s ductwork, it’s essential to gather all the necessary tools and materials. Having everything at hand will help streamline the cleaning process and ensure it’s done effectively and safely.
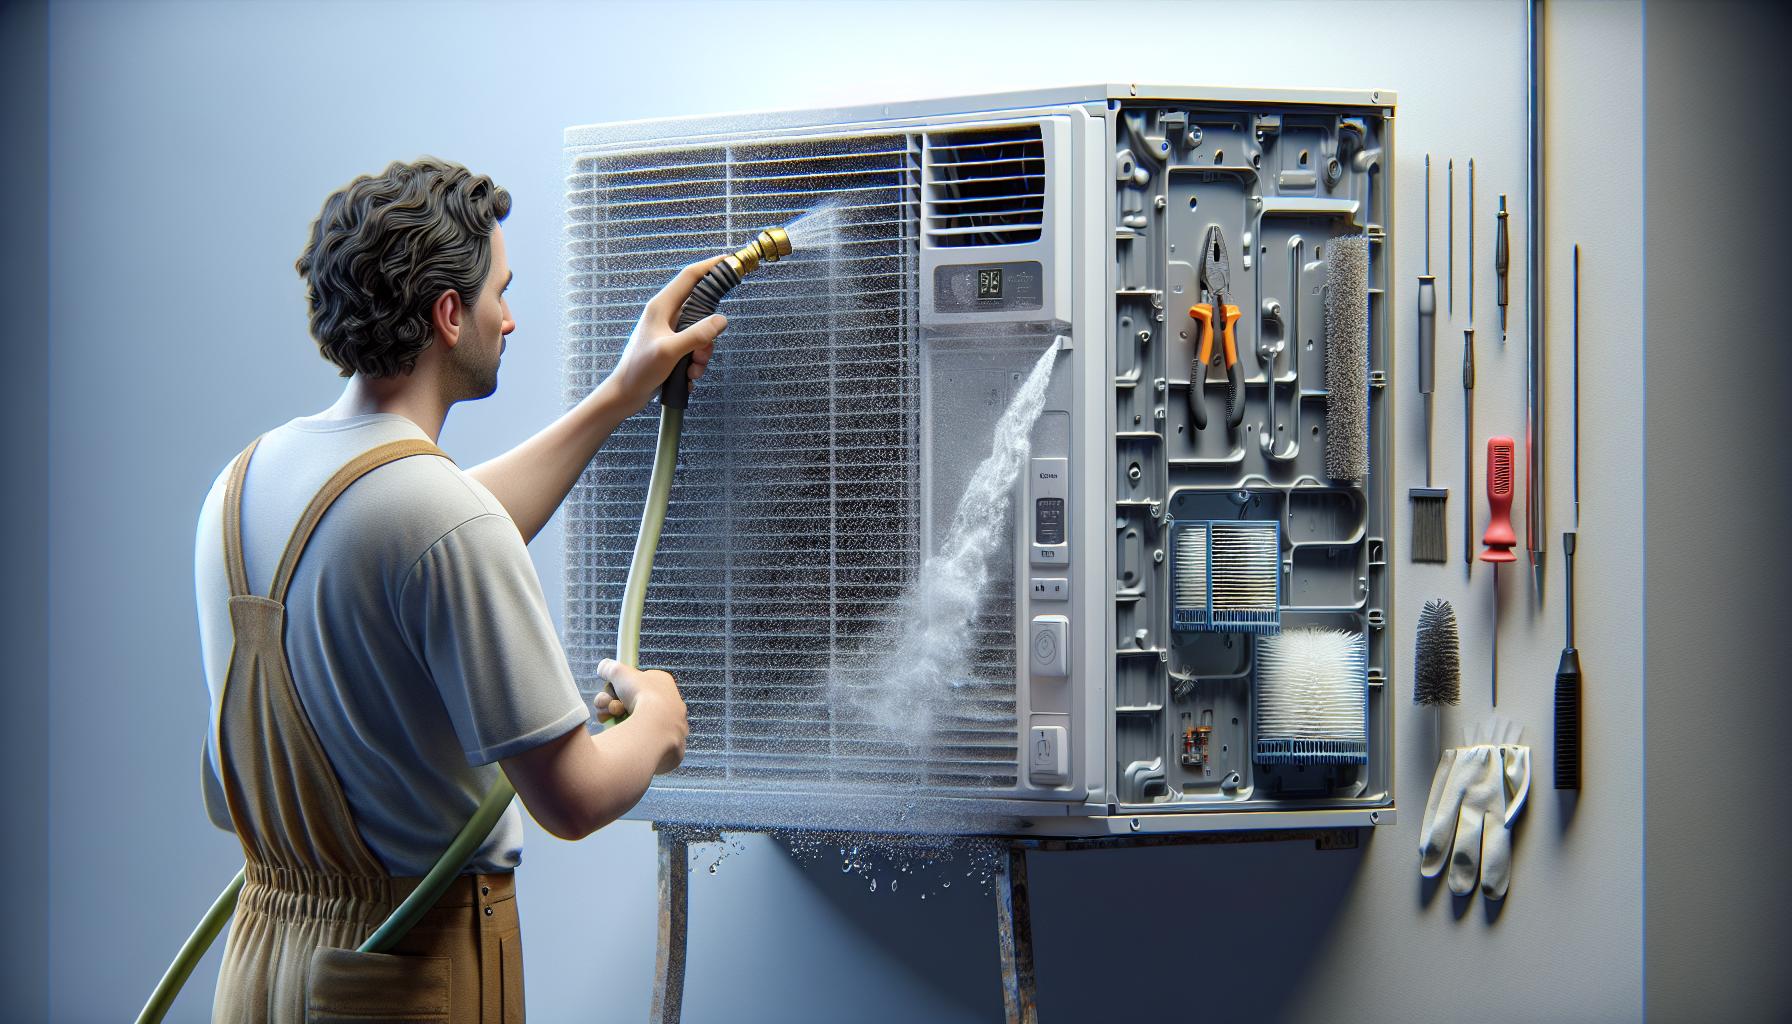
Vacuum Cleaner with a Long Hose: The most crucial tool for duct cleaning is a high-powered vacuum with a long hose to reach deep into the ducts. An industrial vacuum with a HEPA filter is optimal, as it’s specifically designed for this type of work and will prevent the spread of contaminants.
Brushes and Cleaning Tools: Various brushes and cleaning tools are needed to loosen the dust and debris inside the ducts. You’ll want:
- A stiff-bristled brush for scraping off any build-up.
- Soft-bristled brushes to avoid damaging flexible ductwork.
Screwdriver: Your ductwork panels are likely attached with screws or fasteners. A screwdriver will be necessary to open these panels for cleaning.
Protective Gear: To keep yourself safe from inhaling particulate matter, you should wear:
- A dust mask or respirator.
- Goggles for eye protection.
- Gloves to protect your hands.
Hose Extensions and Attachments: Hose extensions can help reach further into the system, while attachments can provide angled access and more effective dust removal.
By preparing these tools and materials in advance, you’re setting yourself up for a thorough and efficient cleaning. Remember to inspect tools for proper functionality before starting and to replace any filters or cleaning cloths that may have been used in previous clean-up tasks. Clean ductwork is within reach with the right approach and equipment.
Preparing for Ductwork Cleaning
Before diving into the process of cleaning your ductwork, there’s some groundwork you’ll need to do. Proper preparation will not only facilitate a smoother cleaning experience but also ensure safety and efficiency throughout the task.
First, turn off the power to your heating, ventilation, and air conditioning (HVAC) system. This is a critical step to prevent any accidents or damage to your system while cleaning. Next, you’ll need to clear the area around vent covers and furnace to allow for easy access. All furniture, rugs, and other items should be moved away to create an unobstructed workspace.
Inspect the ducts for any signs of damage such as holes or tears. If you find any, they need to be addressed before you start cleaning as these can compromise the system’s efficiency and may lead to more contaminants entering the ductwork. Sealing these leaks is paramount and ensures that once cleaned, the ductwork won’t be immediately recontaminated.
- Gather your cleaning tools:
- Heavy-duty vacuum cleaner with HEPA filter
- Soft-bristled brushes (do not use wire brushes as they might damage the ducts)
- Microfiber cloths for wiping surfaces
Arm yourself with the appropriate protective gear such as gloves, dust mask or respirator, and protective eyewear. Safety should be your top priority, as duct cleaning can dislodge particles that may be harmful if inhaled.
Set aside enough time to perform the cleaning without rush. You don’t want to cut corners when it comes to the air quality of your home. Plan for at least a few hours depending on the size of your home and the complexity of your ductwork system.
Photograph every step, especially if dismantling anything. These images will serve as your guide for reassembling vents and other fixtures after the cleaning process.
By taking these simple yet effective preparatory steps, you’re setting the stage for a successfully cleaned ductwork system.
Step-by-Step Guide to Cleaning Ductwork
Before you dive into the process, it’s essential to move through these steps meticulously for an effective clean.
Turn Off the Power
Firstly, ensure safety by turning off the power to your HVAC system. This minimises risk and allows you to work without interruptions.
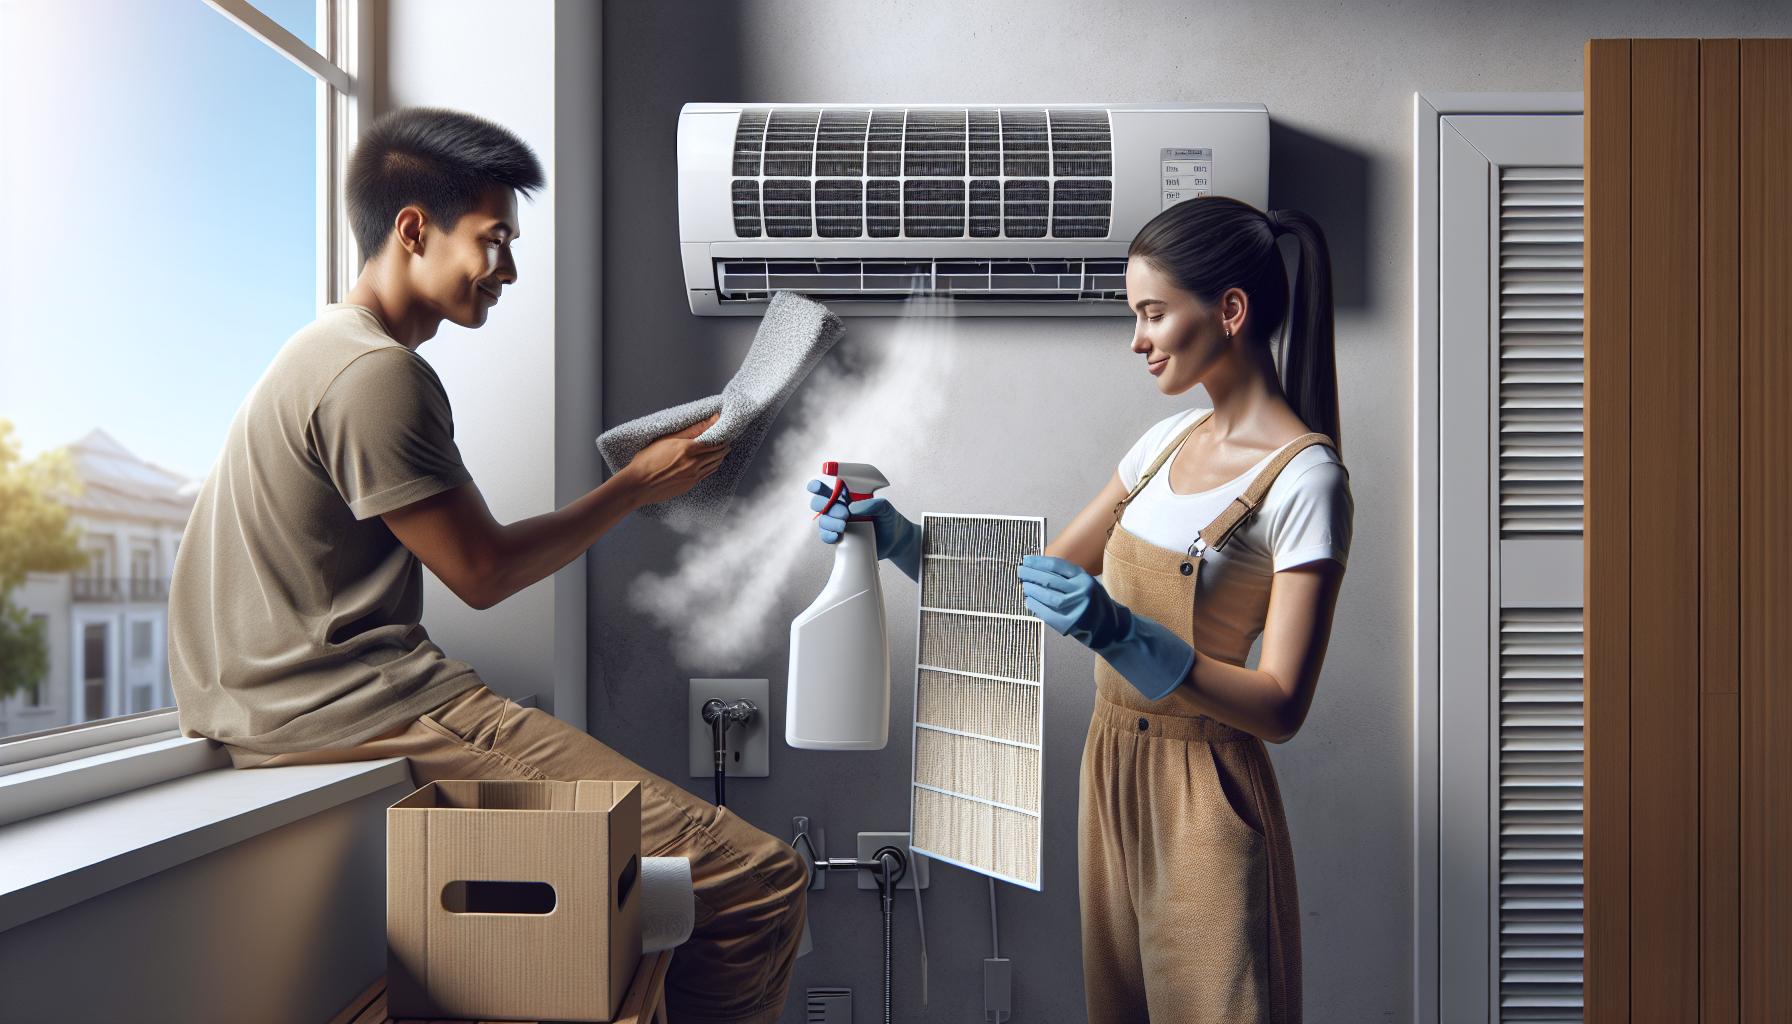
Remove Vent Covers
Carefully remove the vent covers and grilles from the duct openings. Often, a simple screwdriver will do the job. Place these items in a mild soapy solution for cleaning.
Begin With the Register
Use your vacuum cleaner with a brush attachment to clean around the register. Extend the hose into the ducts as far as possible to remove the dust and debris build-up.
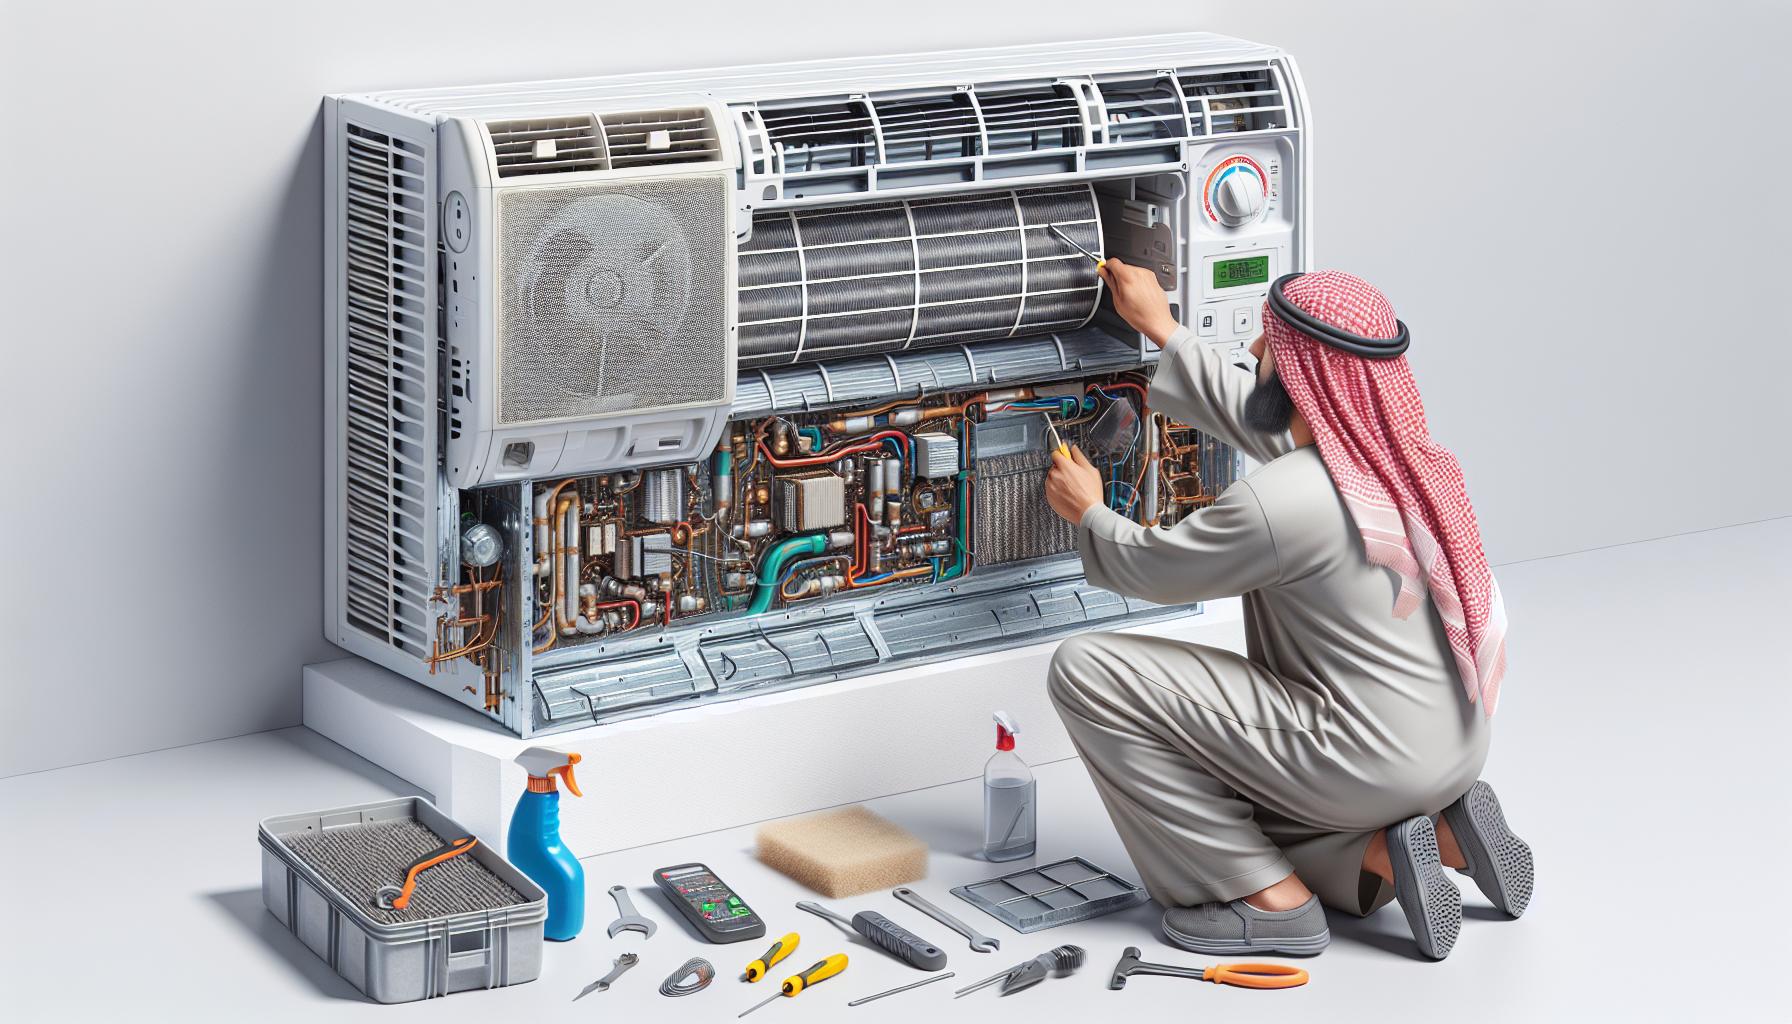
Clean Inside the Ducts
Attach your hose extensions and delve deeper into the ductwork. Clean each duct’s interior using circular, sweeping motions. It’s vital to reach as far as possible to ensure a thorough clean.
Clearing the Deeper Sections
For ductwork segments beyond the reach of your vacuum hose, use flexible dust brushes capable of reaching into nooks and crannies. Gently agitate the walls to dislodge any further dust or debris.
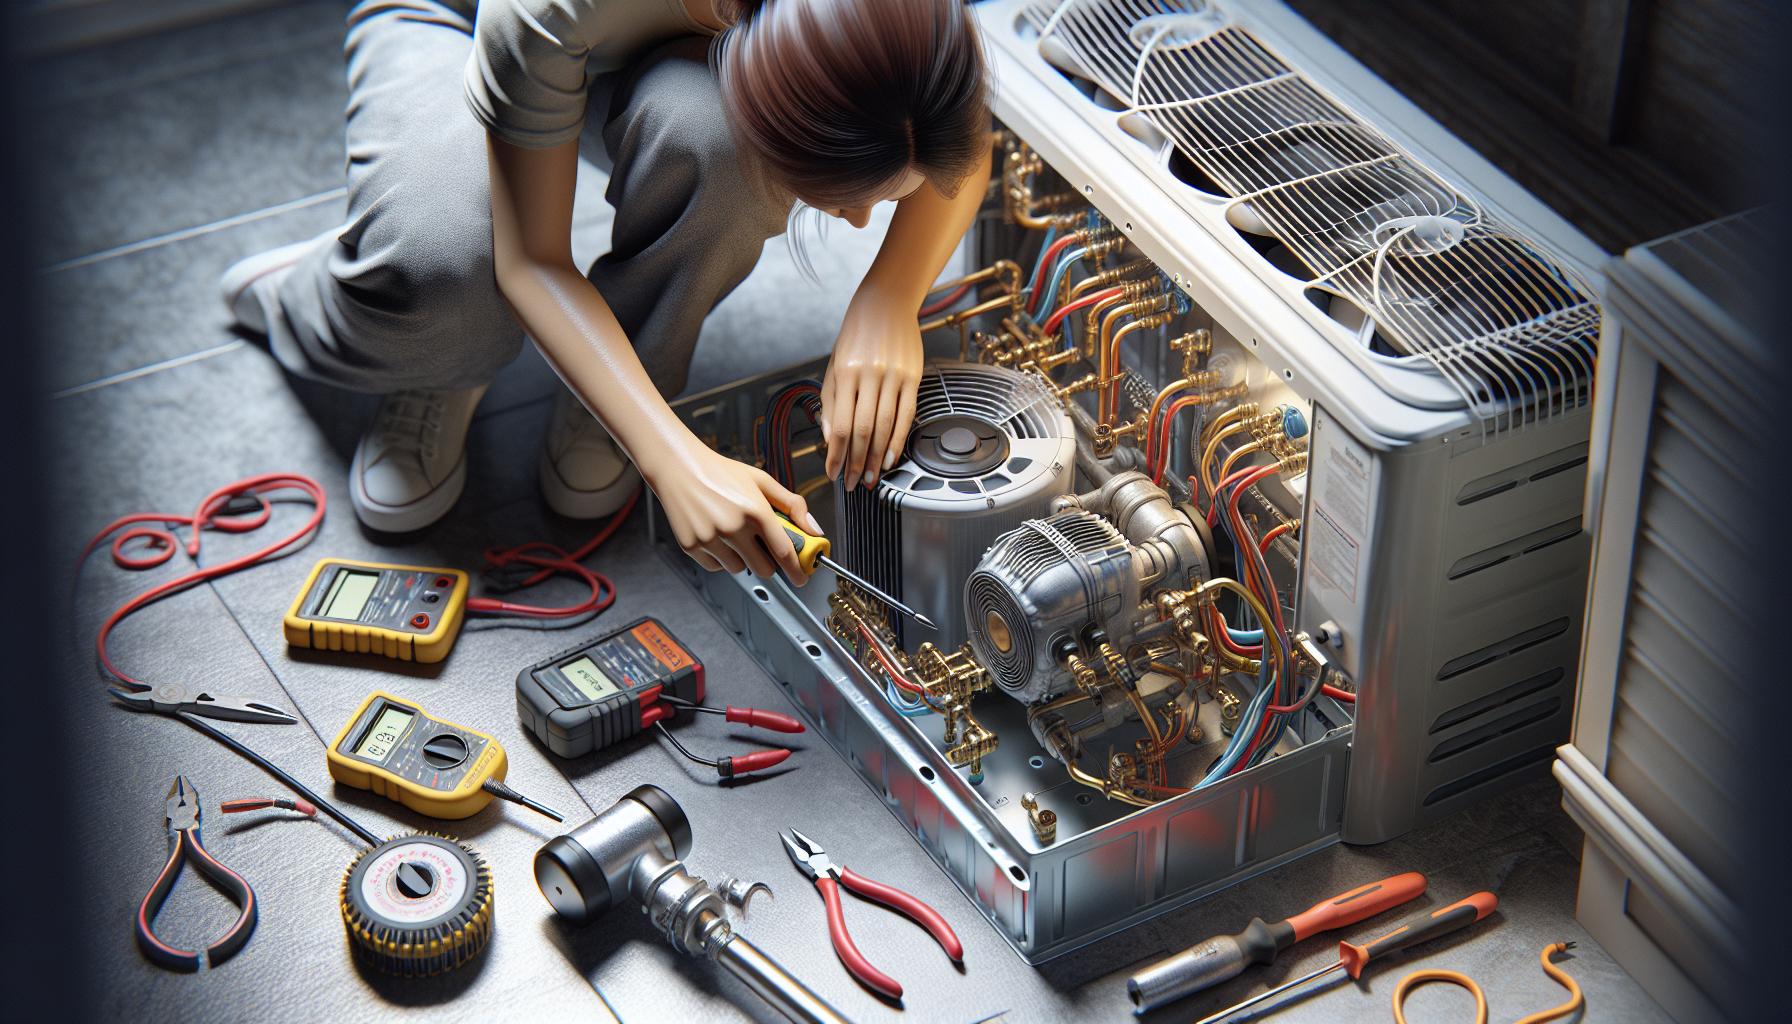
Attend to the Air Handler
The air handler is a crucial component. Here, you’ll need to focus on the blower fan, the motor, and any coils or filters present. Clean each part methodically, ensuring no residue is left behind.
Replace the Components
Finally, replace the cleaned vent covers and ensure all screws are securely fastened. Once everything is back in place, you can turn the power back on and enjoy the benefits of a cleaned duct system.
Additional Tips for Maintaining Clean Ductwork
Regular Inspections play a crucial role in maintaining your ductwork’s cleanliness. You’re advised to inspect the ducts at least once a year to prevent any build-up of dust and debris. During the inspection, look out for signs of mould, pests, or any damages that might call for an immediate professional intervention.
Creating a Cleaning Schedule helps in maintaining the air quality of your home. Your ductwork will work most efficiently when it’s free from obstructions. Aim to clean them every three to five years, depending on your environment and usage.
Changing Filters Regularly cannot be overstated. Standard recommendations suggest changing them every 90 days for a typical home, and if you have pets or allergies, consider changing the filters every 60 days to ensure the best air quality and duct protection.
Employing Air Purifiers can significantly assist in reducing the amount of airborne particles entering the duct system. They work by trapping dust, pollen, and other allergens before they infiltrate the ductwork, thus lessening the load on your system.
Proper Home Cleaning Practices also contribute to the longevity of your ducts. Simple tasks like dusting and vacuuming your home often, especially around vents and registers, can prevent excessive dust from entering the duct system in the first place.
Remember that Expert Cleaning might be necessary if you’re dealing with substantial dirt accumulation or if you aren’t confident in handling parts of the cleaning process. Professionals have specialised tools and experience to thoroughly clean and ensure your duct system functions optimally.
By adhering to these tips, your ductwork will not only remain clean but also support the overall efficiency and air quality of your heating and cooling system. Keep these additional tips in mind as part of your comprehensive ductwork maintenance strategy.
Conclusion
Armed with the right techniques and tools, you’ve got all you need to tackle ductwork cleaning in your home. Remember, keeping your ducts clean is not just about dust removal; it’s about ensuring your heating and cooling system operates efficiently and the air you breathe is of the highest quality. Stick to a regular cleaning schedule and don’t hesitate to call in the professionals if the task seems daunting. With clean ducts, you’re paving the way for a healthier, more comfortable living environment. Now it’s time to enjoy the fresh air and peace of mind that comes with a job well done.
Related Posts:
- Understanding the Importance of Air Duct Cleaning…
- Understanding Central Heating and Cooling Systems…
- Upgrade Home Living with ComfortPlan: Smart Savings…
- Innisfil Duct Cleaning: Your Guide to Fresher Air at Home
- Understanding HVAC Duct Insulation: A Guide for Homeowners
- The Importance of HVAC System Cleaning for Homeowners